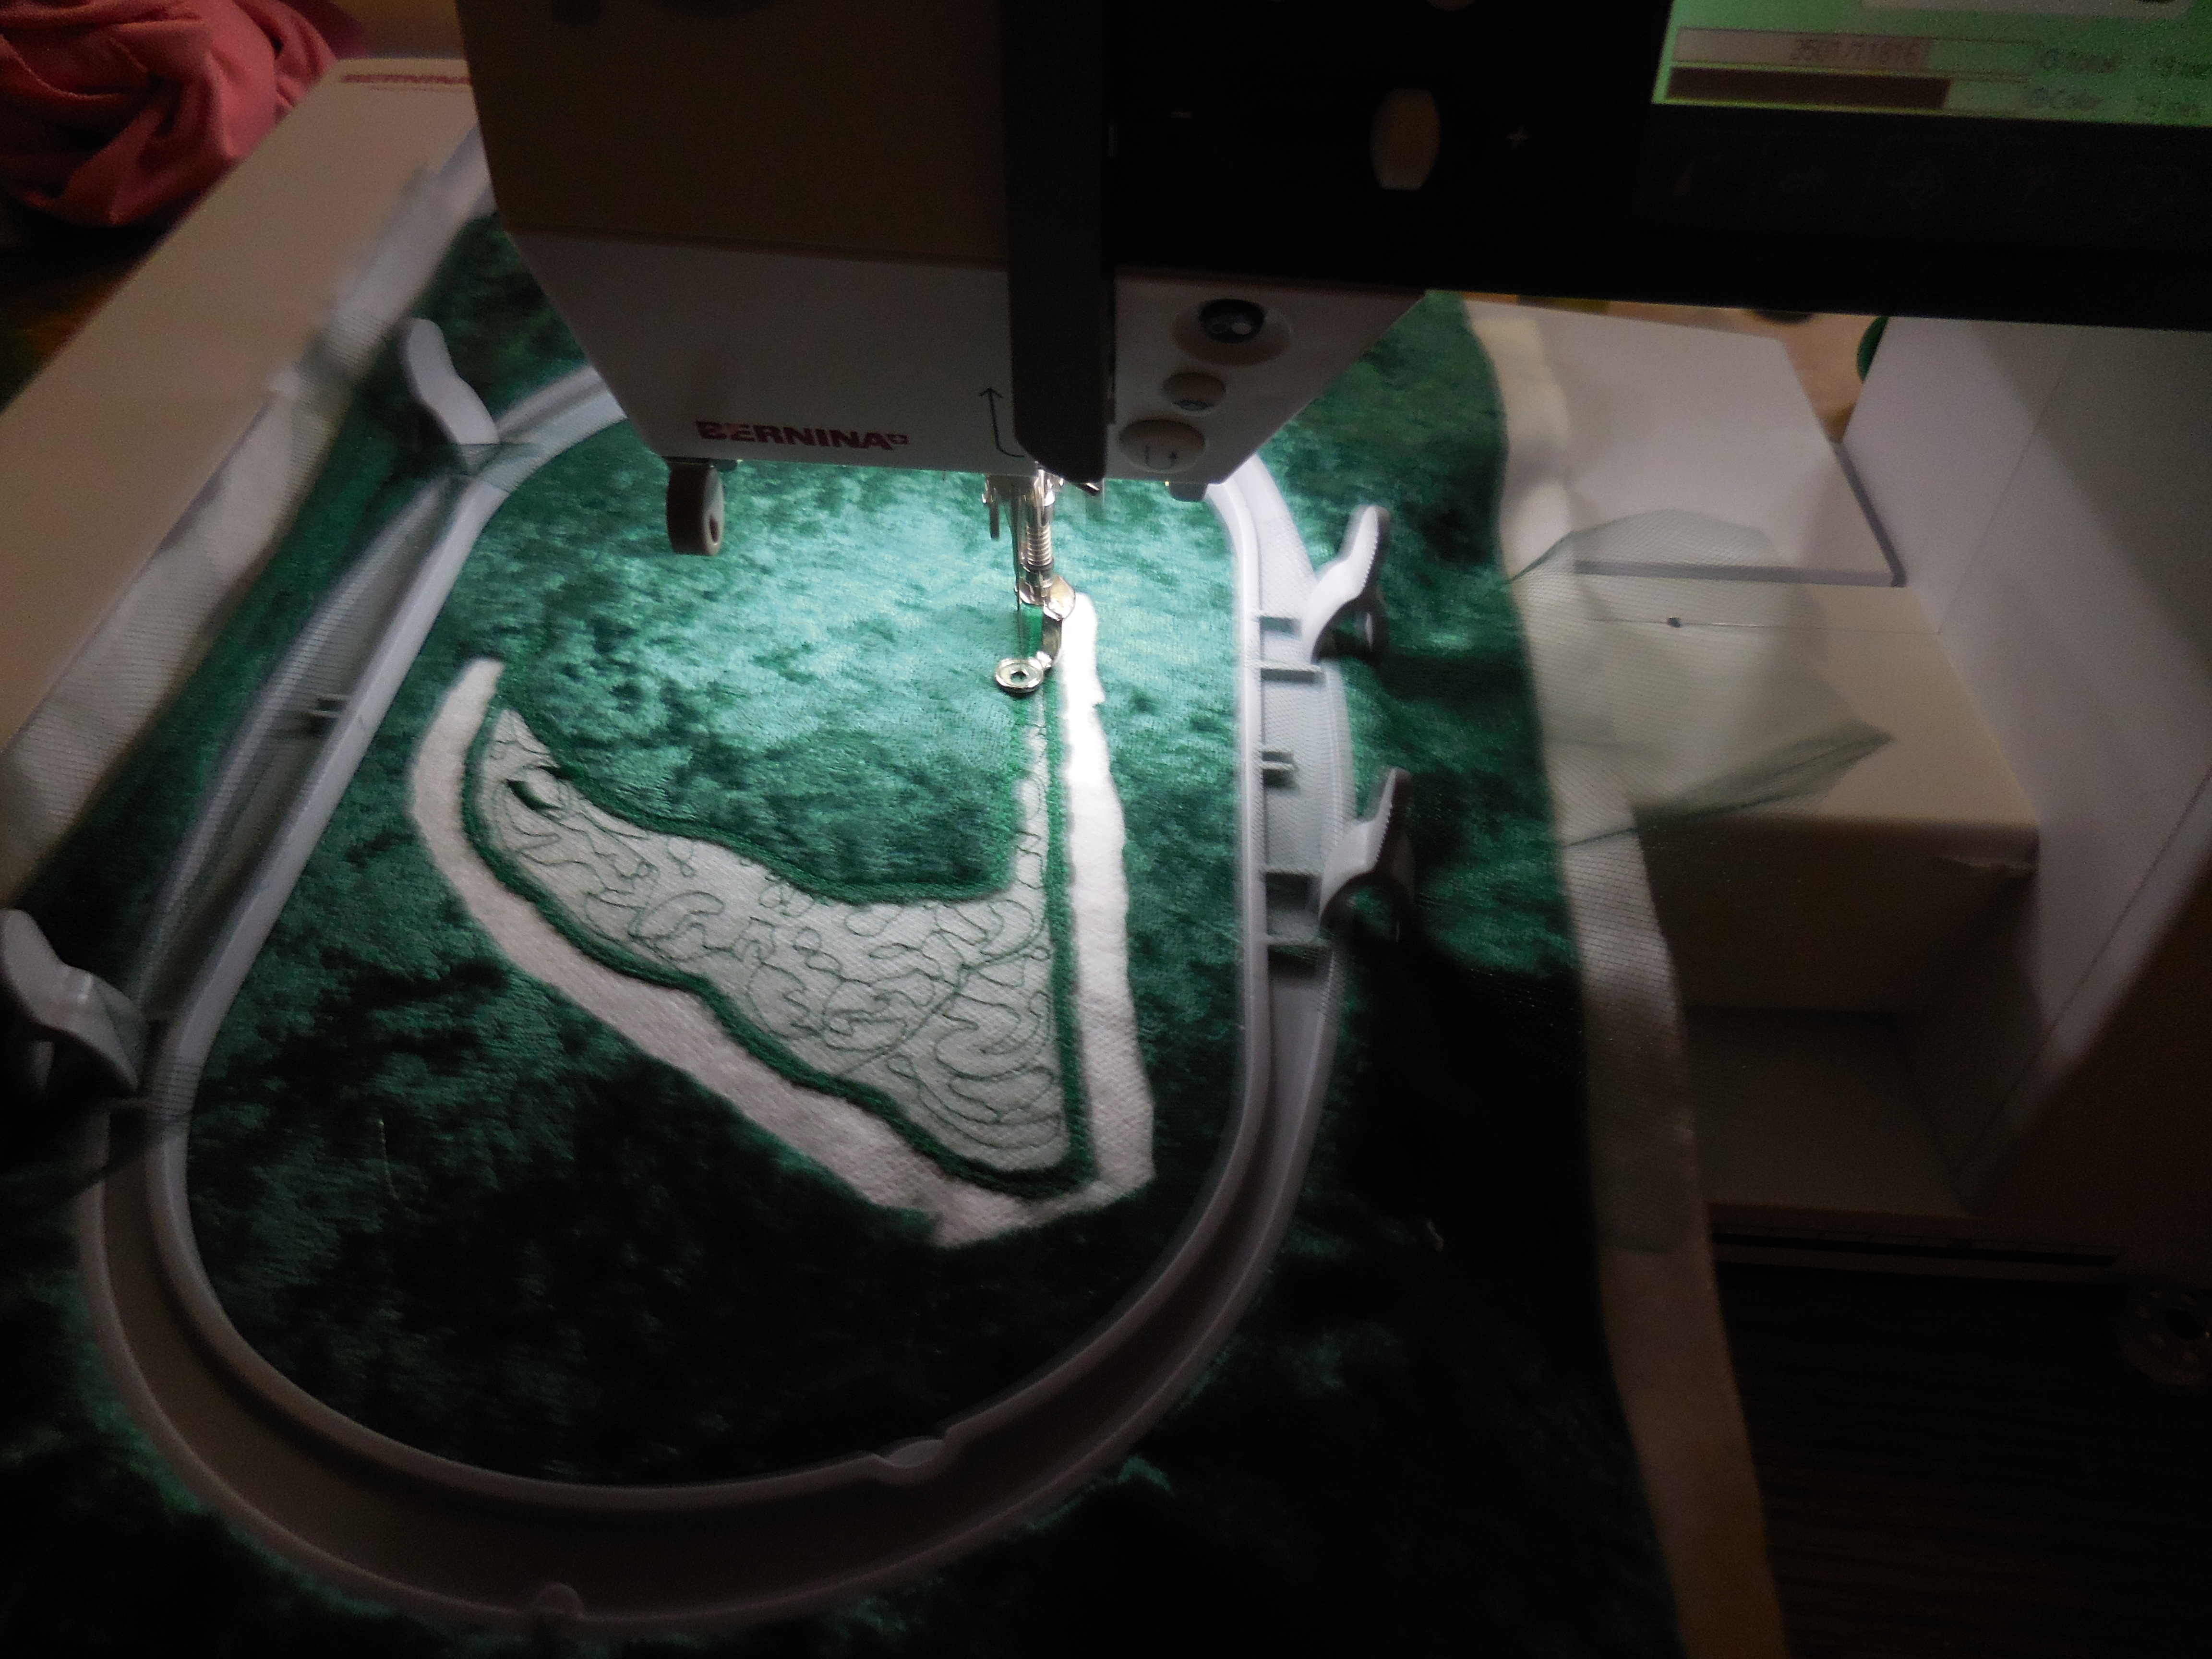
Machine Embroidered Cutwork Lace on Tulle

Introduction
One of the very favorite things I love to do with machine embroidery is to stitch out my own custom lace designs, and take existing designs and make them usable as lace trim in my garments. This technique I am going to cover here involves stitching embroidery designs into tulle, and then by using cutwork techniques, stitch out the designs in a way so that they can be used as lace trim on garments. As a bonus, this technique allows for the easy stitching out of freestanding lace designs that typically require extremely precise tension settings.
I will be suggesting some products as part of this tutorial. I am not paid to use any of these products; these products are things that I have found that work well for my purposes.
Step 1: Modify your design for cutwork
Most lace embroidery designs are usually not set up for cutwork. To make the design suitable for cutwork edges, you will need to add a cut line to the design, assign it a separate color from the rest of the design, and then move that line up in the color sequence so that it’s stitched out before the outer edges. For this tutorial, I will be using a lace design that I bought several years ago.

Notice that in the original design, there is no cut line for cutwork; this design is actually a freestanding lace design that is difficult to stitch out without falling apart.

I digitized a cut line that is 1/16″ from the outer edge, and gave it its own color (#20). This will force the machine to stop after stitching out the cut line.

I moved the cut line to the first color that it stitches out to ensure that it is stitched before the outer edge.
Step 2: Hoop the tulle with wash-away stabilizer
When I do this kind of embroidery, I typically will use two layers of wash-away stabilizer underneath the tulle.
The top layer is a fibrous woven stabilizer. The reason why I use that as the top layer is that so I have an “alarm” that tells me if I’m cutting into the stabilizer. My preferred products for this are OESD’s Aquamesh/Aquamesh Plus and Floriani’s Wet N’ Gone.
The second layer is a non-woven stabilizer. This provides a layer that does not stretch as easily as a woven stabilizer. My preferred product is OESD’s Badgemaster. This product is also suitable as a topping as well.

The tulle is hooped. Top layer is the tulle, middle layer is Floriani Wet N’ Gone, bottom layer is OESD Badgemaster.
Step 3: Load the embroidery design in the machine, set the tension, and stitch the cut line.
Load the design in your embroidery machine.
Most embroidery machines have their upper thread tension set too loose for cutwork. You want the upper and lower thread tensions to match. This reduces the distortion on the edges once the stabilizer is washed away. I usually raise the tension up to where I know they match.
Be sure your embroidery design has the cut line!
Start the stitching with the cut line.
Step 4: Cut the tulle around the outer edge of the cut line as necessary.
I usually remove the hoop from the machine when I do this step, although that is optional. With a pair of embroidery scissors, cut out the tulle around the outer edge. You only need to cut the edges that will be exposed. With a bit of experience and practice, you can figure out how much to actually cut, especially if you want to do endless embroidery and stitch them from end to end.
DO NOT CUT INTO THE STABILIZER!
 Step 5: Stitch out the rest of the design.
Stitch out the rest of the lace design. I usually do lace designs slower than most of my regular designs to minimize subtle errors caused by the hoop slamming from one side of the design to the other.
Step 6: Unhoop the fabric, then remove the stabilizer.
Once the stitching is done, remove the hoop, and remove the fabric from the hoop. I usually will cut away as much stabilizer as possible before washing away the remainder.


 Step 7: Press the tulle on medium heat with a press cloth.
After you wash away the fabric, but before the tulle dries, press the lace and the tulle with a press cloth, on medium heat with an iron (you don’t want to melt/burn the fabric)!


The finished product
This is photographed against a pink fabric for contrast.
Hopefully this is helpful to everyone who has read this tutorial all the way. Feel free to comment below if there are any issues with this tutorial.


Leave a Reply