Binding Edges with Bias Tape
Introduction
One of the things I’ve been asked over the years is how I do my bias tape binding on my costumes, in particular on my skirts, flounces, and ruffles. I have a certain way of doing my bias tape binding that makes it look nice and consistent, and it nicely covers any raw edges as a result. From looking on either side, you only see one stitch, and it looks consistent both on the right and the wrong side.
Also, one of the things I hear often when talking to other cosplayers is that bias tape tends to be the path of least resistance for a lot of things as part of costumes, because of its supposed simplicity of use. For me, bias tape is only a part of all the available notions I have access, and I only use it when other methods are not appropriate for a costume.
Other methods
As part of some research on how other folks do it, I have found there are several different ways of putting in bias tape. As a reference, I will list some of these techniques.
How To: One Step Bias Binding + Mitered Outside Corners
Hotpads + attaching bias tape (They actually use a Bernina like I do, but they use foot #0 instead what I use, which is foot #10)
Binding Inside Angles for Quilts and Sewing (This video shows how you have to do a concave corner instead of a convex corner. I’ve only have to do this once myself, and this video shows how you do it and make it look clean.)
Requirements
- A sewing machine that can move the needle to the right of the center position
- Bias tape (I prefer single fold bias tape for my bias tape needs; the process of making/buying bias tape is beyond the scope of these instructions)
- The edgestitching foot for your machine. Do not use your blind hem foot for this, as you will hit the guard and break your needle.
Procedure
Before I begin, I would like to mention that my Bernina Artista 630 that I use for my regular sewing has several features that most machines do not have. I will give alternative instructions for machines that do not have these features as I go through this process.
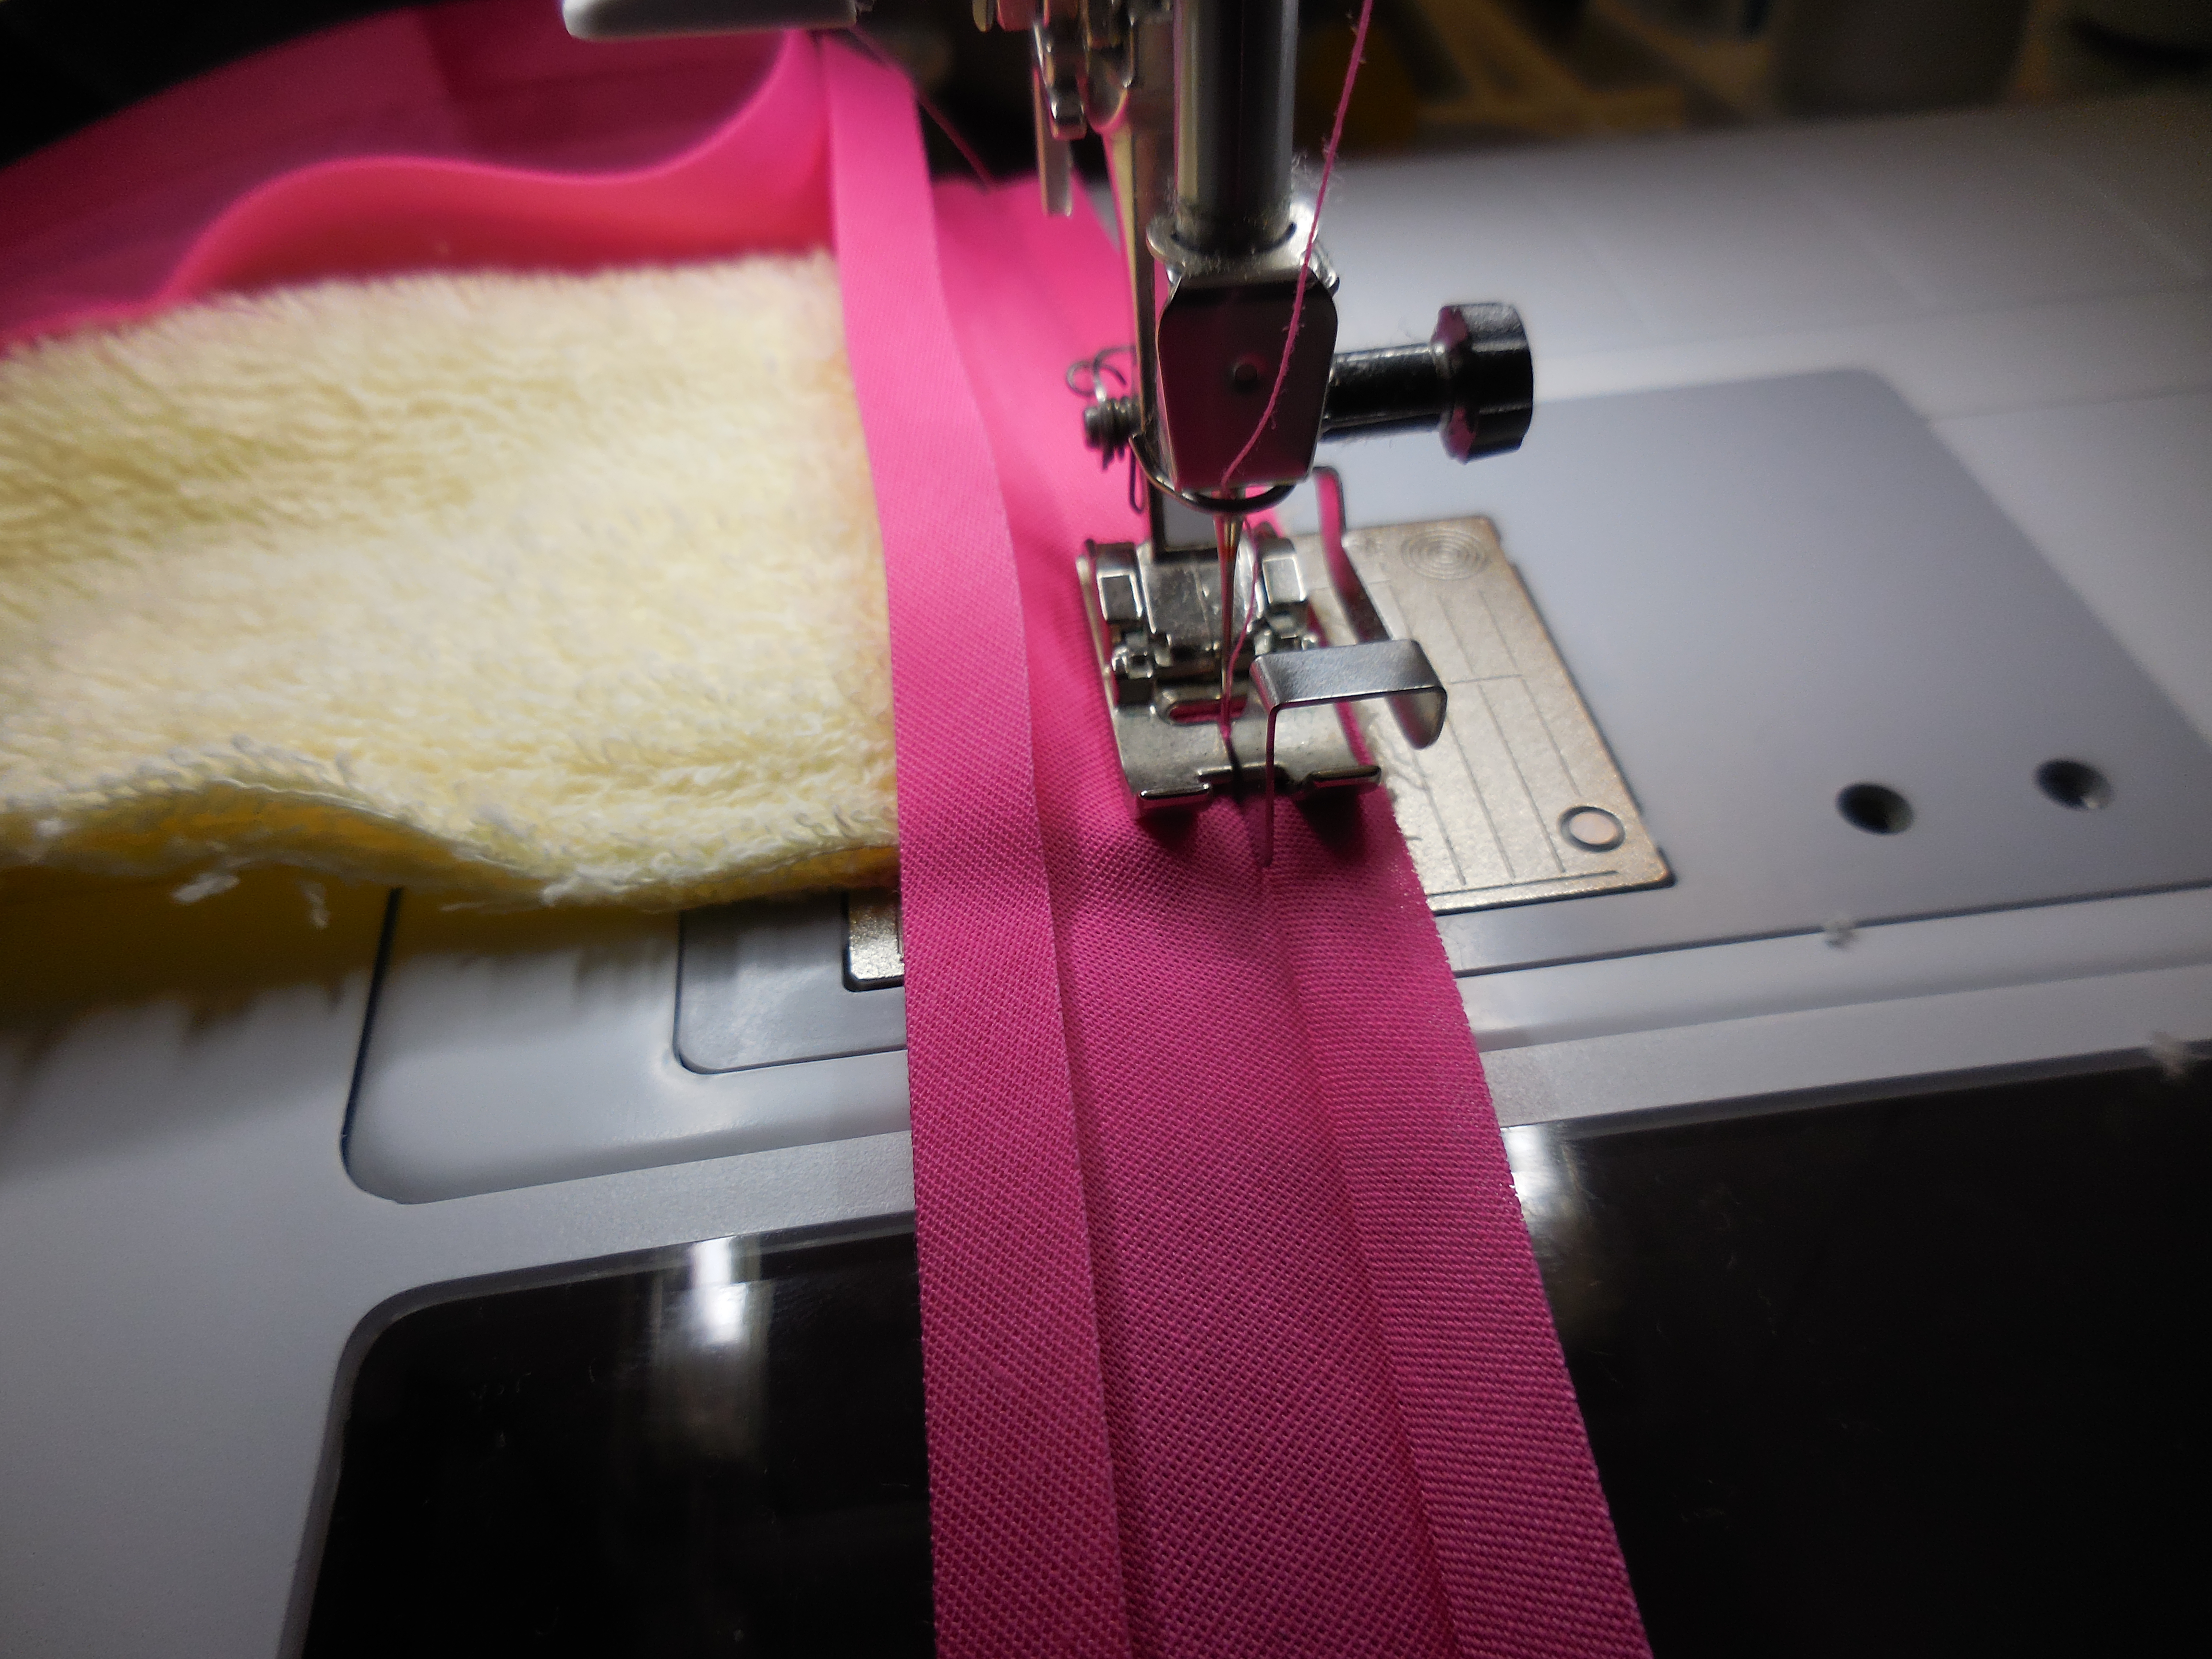
Start by opening up the bias tape, and put the right side of the bias tape to the right side of your fabric. Line up the edges like in the picture. Note that in the picture, I don’t actually pin the bias tape onto the work; I use the guide on the fold of the bias tape, and visually align the edges.

On my machine, I can move my needle to 11 different positions. Usually when I start with the initial stitch, I will shift the needle one position to the right. The reason why I do this is because I do not want this stitch to show whatsoever (the only stitch that should be showing on either side is the topstitching I do later), and by shifting the needle one place over, I shift the stitch just enough so that when I pull the bias tape over the raw edge, that stitch will not be seen. If your machine does not have this capability, leave the needle in the middle, but make absolutely sure your upper and lower threads match your bias tape. Stitch down the tape, with the guide in the fold.

In certain cases, you will have to turn a 90 degree corner with your bias tape. The way I typically do this is to create a 45 degree miter. To do this, you need to stop your needle at a distance exactly the width of the fold and the edge of the bias tape. Backstitch a few stitches, and remove your work. Fold the bias tape to the right, so it looks like an L, with a 45 degree chunk removed from the corner.

Then you will fold the horizontal part of the L back over to your fabric. If done correctly, it should look like this. You will resume sewing at the point where you stopped before you did your backstitching.

Once you have secured the bias tape around your work, you will then pull it over the edge of the fabric. This is the point where being careful makes a lot of difference in how clean your work will look. At this point, you will now topstitch through the bias tape, through your fabric, and all the way to the other side. Use the guide on your edgestitching foot to maintain your position, and use a reference point on the machine itself to make sure that the width of the binding is consistent. (I like to use either the edge of the foot itself, or a guide line on the stitch plate.) You should go slowly, continuously adjusting the bias tape so that the binding width is the same. With the way this binding works, even an error of 1/32″ will be visible, so be VERY CAREFUL. You can see on this picture that I would have to adjust it the closer I got to the corner.

On my machine, for topstitching edges like this, I will usually shift my needle two positions to the right. With the size of my stitch plate, this allows me to sew extremely close to the edge of the bias tape for securing purposes. If you do not have this capability, move your needle all the way to the right.

Once you get to the corners for the miter, finish out the miter by pulling each side over the corner separately. If you did it correctly, the miter should fall into place on the other side.

When I was taking these photos, I was actually making a baby bib for a colleague of mine at work whose wife was having a baby (so this wasn’t costume related). Bias tape is one of the better ways to bind edges on a baby bib and actually hold up to what newborns do on a regular basis. This was how it turned out.


Leave a Reply